Deployment Instructions - Windows Version
Installing ChinLink Web EDI
Create Project Installation Directory
Create D:/chinlink/soft and D:/chinlink/website directories, and copy the installation package to the D:/chinlink/soft directory.
Extract Installation Package
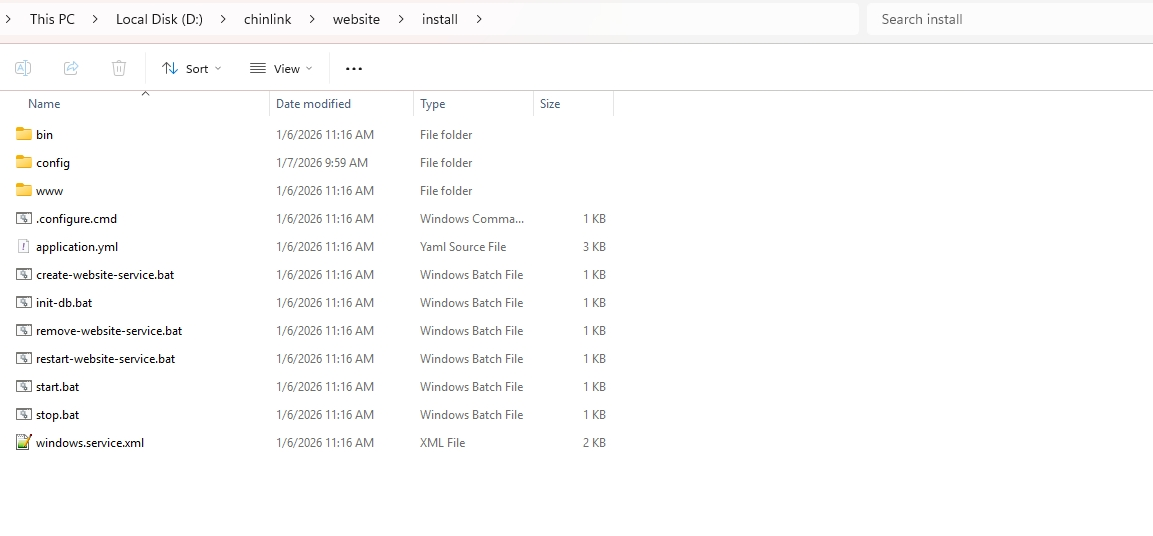
Extract the installation package to the D:/chinlink/website directory.
Initialize System Configuration Files
Copy all files from the D:/chinlink/website/install/config/windows directory to the D:/chinlink/website/install directory.
System Configuration
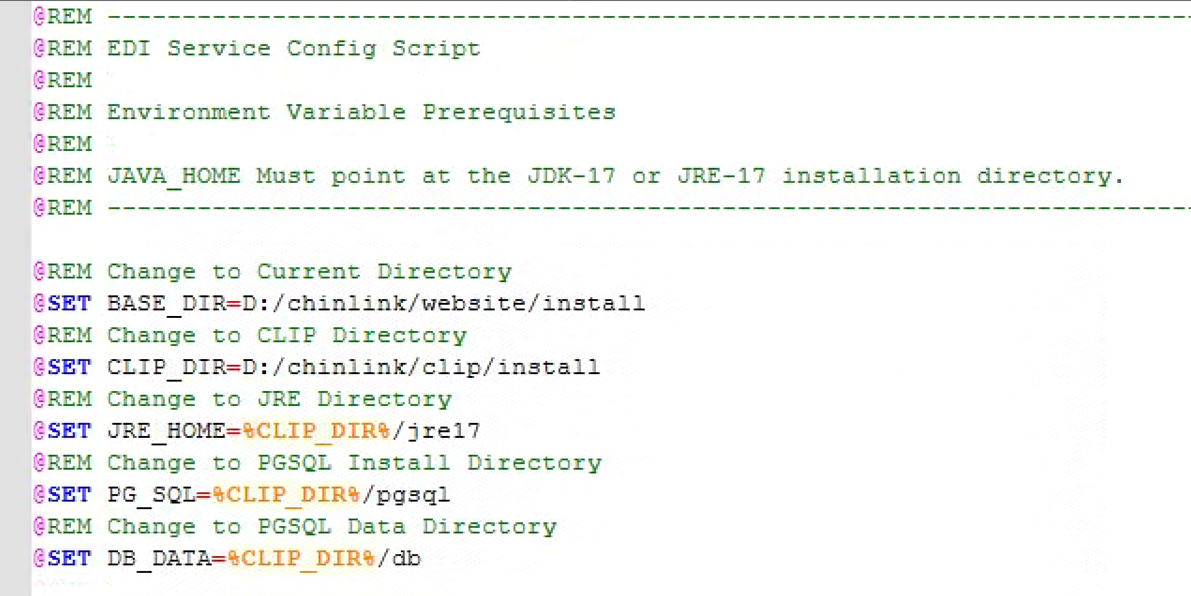
Modify .configure.cmd File
Check and modify BASE_DIR (system installation directory, current configuration file directory)
JRE_HOME (JRE installation directory)
PG_SQL (PGSQL installation directory)
DB_DATA (PGSQL data directory)
Modify BASE_DIR to the current directory, for example: @SET BASE_DIR=D:/chinlink/website/install.
Check if JRE_HOME and PG_SQL directories match.
@SET BASE_DIR=D:/chinlink/website/install
@SET JRE_HOME=D:/chinlink/clip/install/jre17
@SET PG_SQL=D:/chinlink/clip/install/pgsql
@SET DB_DATA=D:/chinlink/clip/install/db
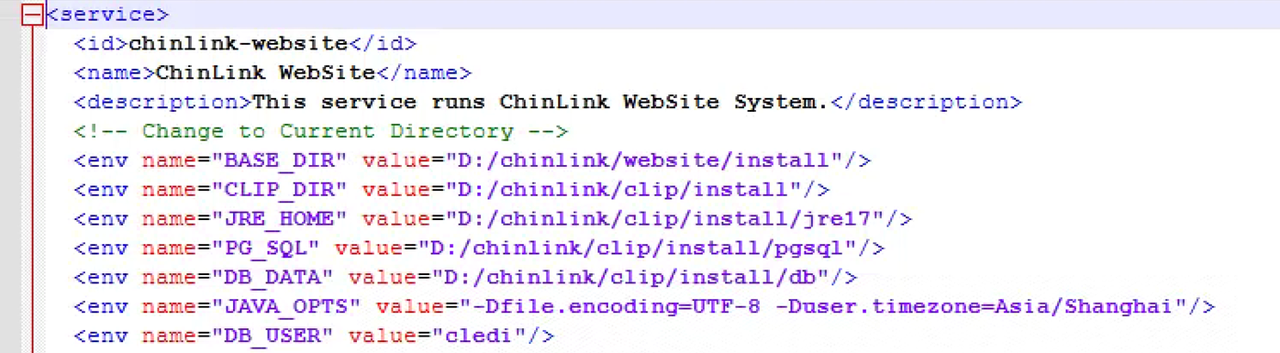
Modify .windows.service.xml File
Modify BASE_DIR to the current directory, for example: <env name="BASE_DIR" value=" D:/chinlink/website/install"/>.
Check if JRE_HOME and PG_SQL directories match.
Check Windows Startup Service Files
Check if the windows/WinSW-x64.exe file exists in the installation directory (copy the install/config/windows/windows folder to the install directory). If it is an x86 system, please contact us to obtain the WinSW-x86.exe file.
If it is an x86 system, you need to modify the WinSW-x86.exe filename in create-website-service.bat.
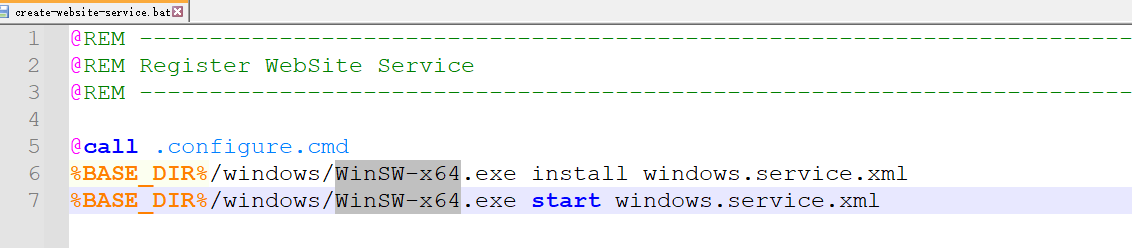
Create and Start Service
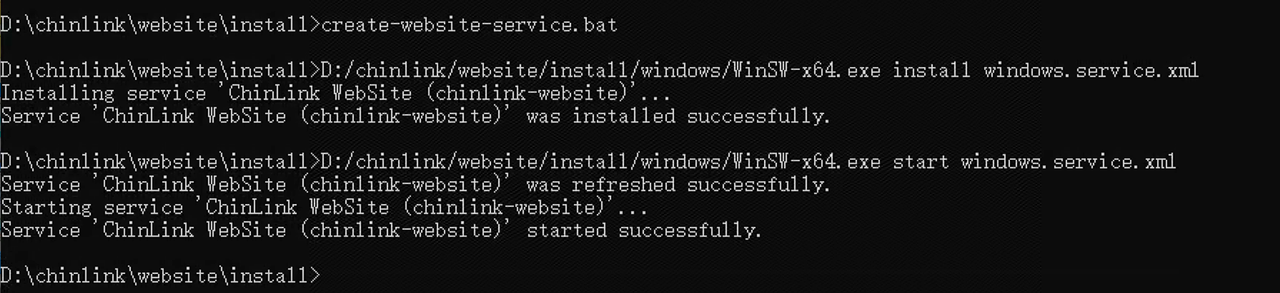
Create Service
Execute create-website-service.bat (Note: Run this bat file as administrator).
Remove Service
Execute remove-website-service.bat
System Web Interface Access
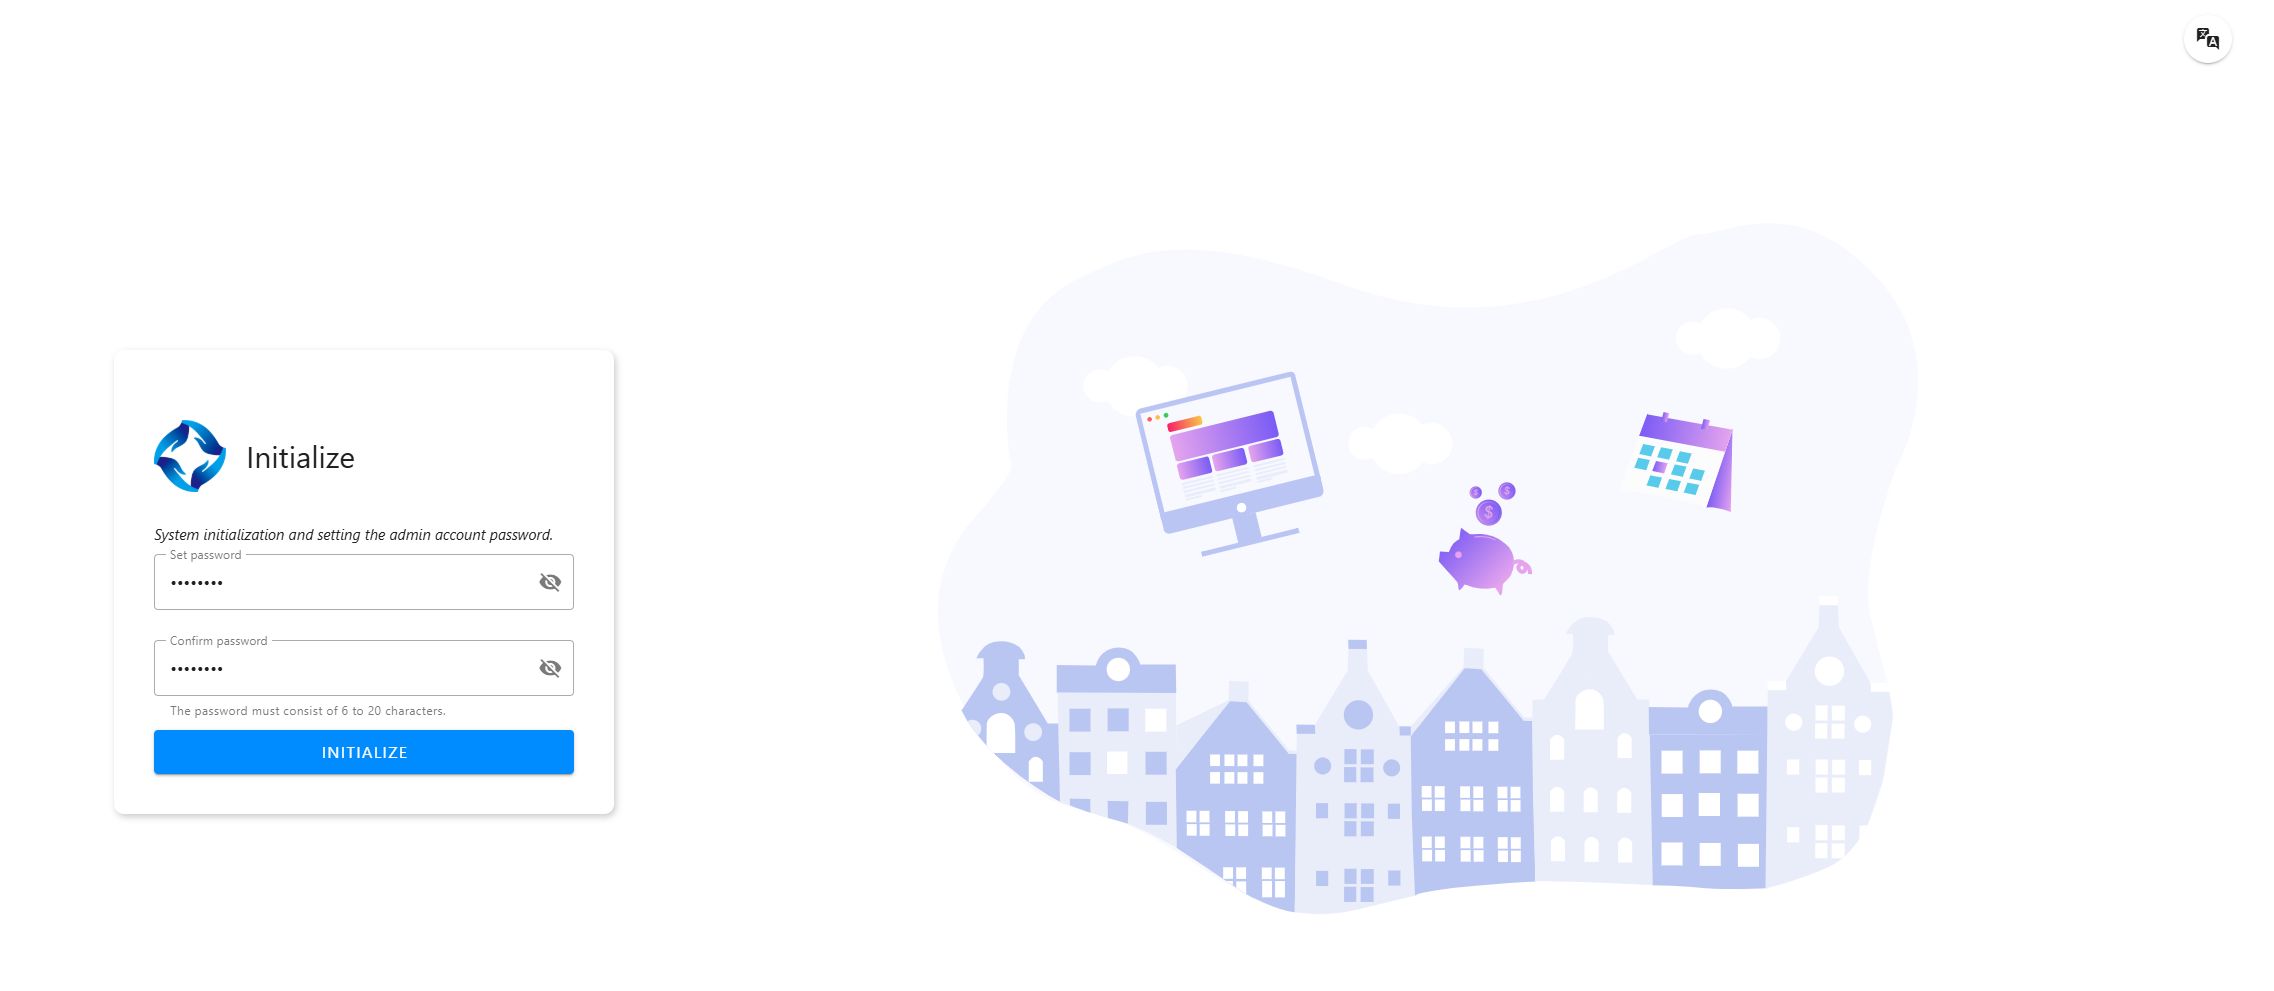
Initialize admin Account
After starting the service, you can enter http://[ip]:8481/init in the browser to initialize the admin account. (For external device access, the firewall needs to open the port)
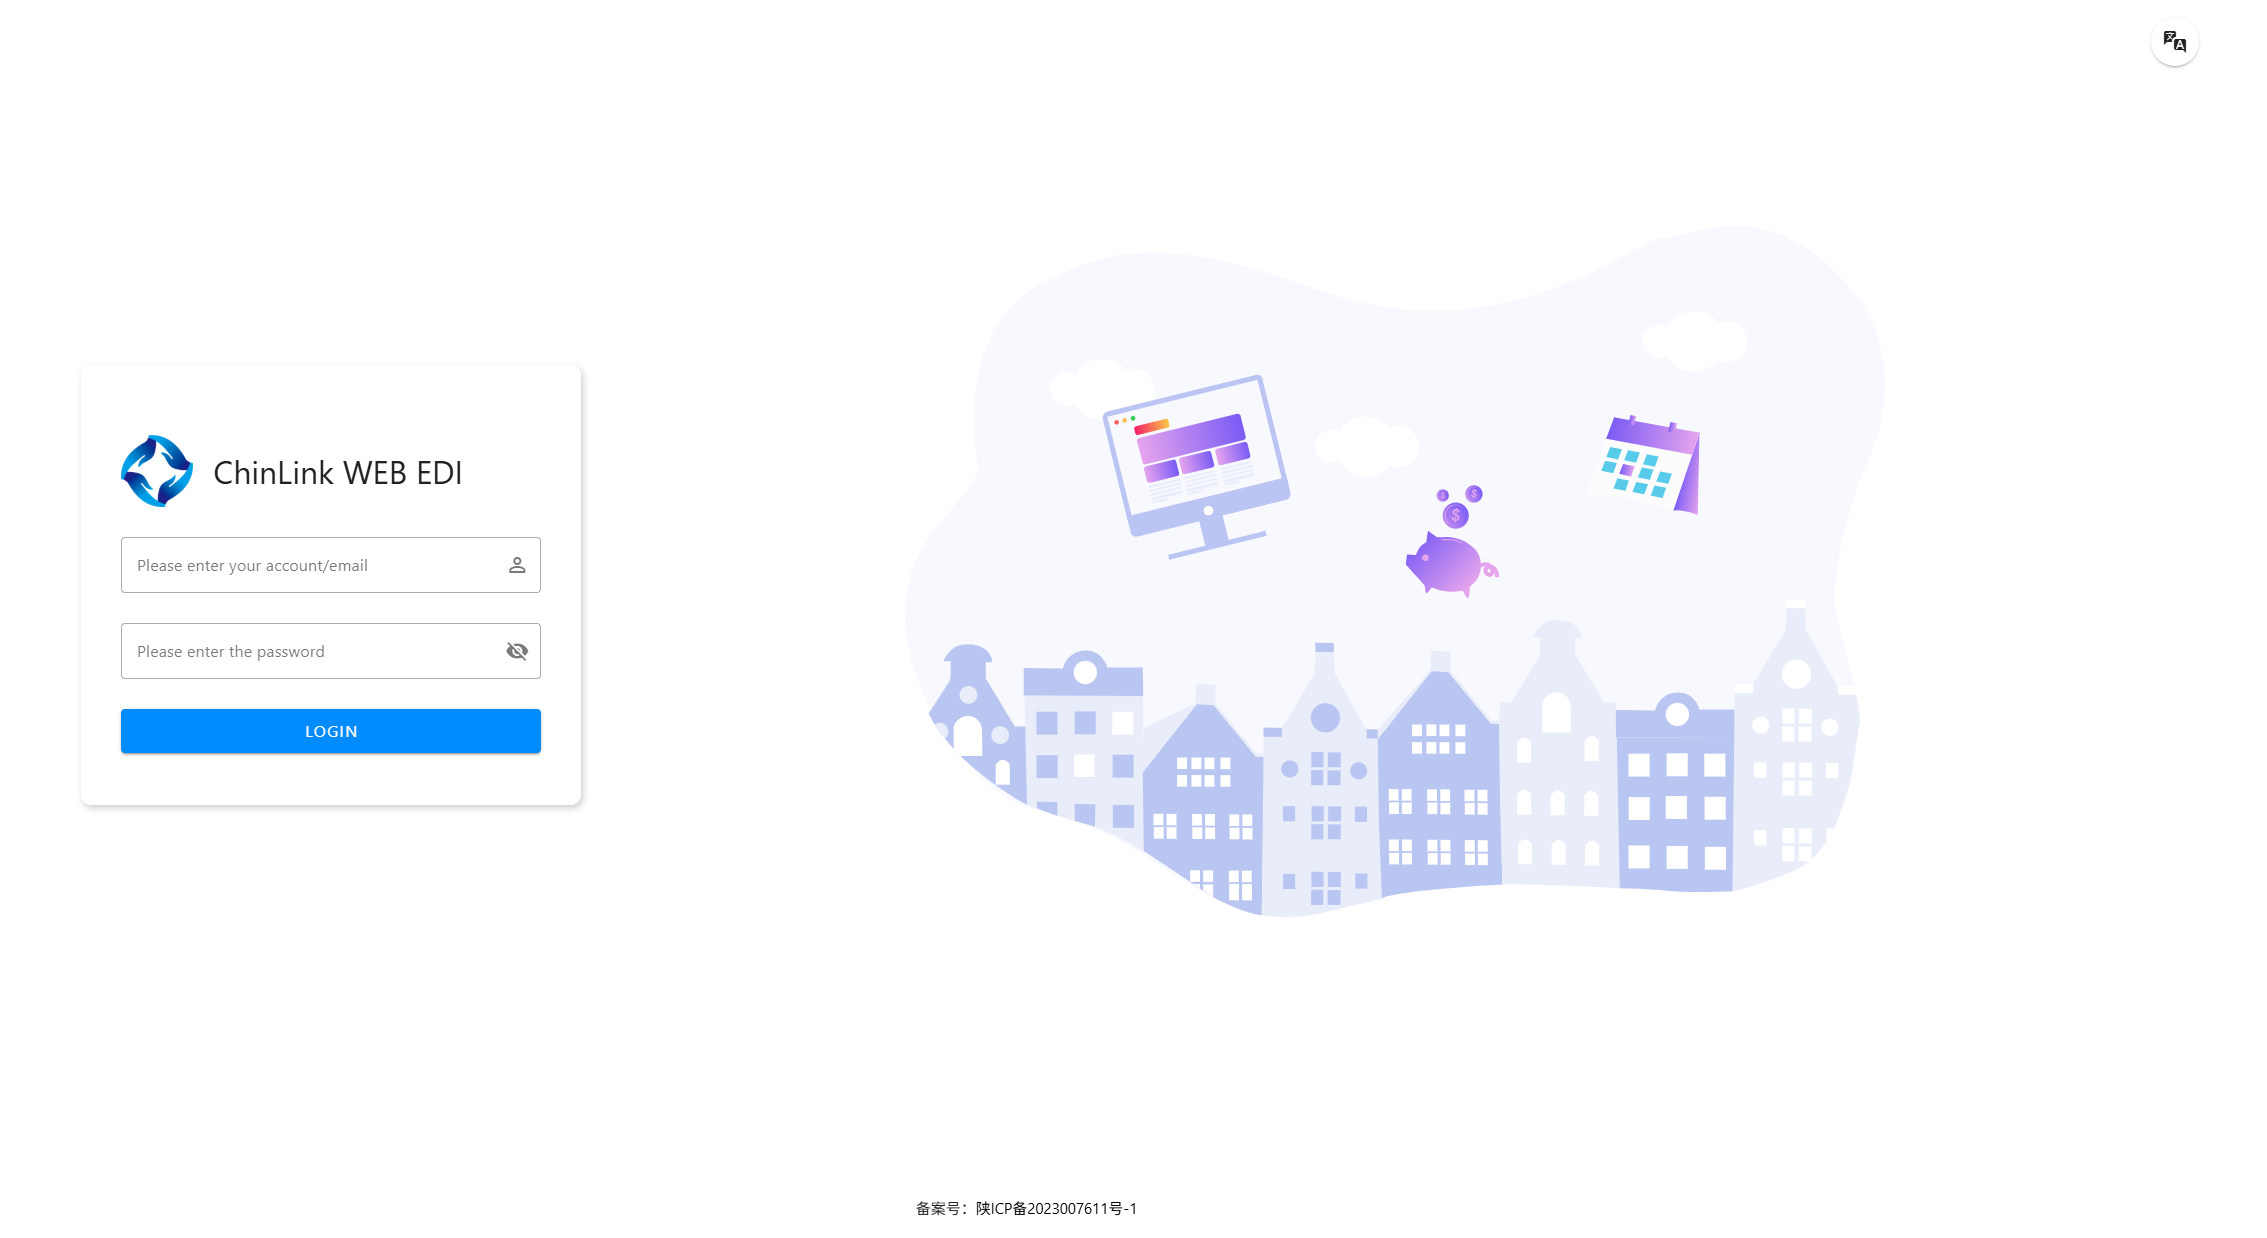
System Web Interface Login
After initialization is complete, enter http://[ip]:8481/login in the browser address bar and use the just-initialized admin account to log in to the ChinLink Web EDI system.